Create a Project with Multi-Party Project Assignment
This guide explains how to create a new project using a template that includes the Multi-Party Project Assignment (MPPA) stage. This setup enables automatic participant selection based on form inputs, facilitating collaboration across multiple departments or teams.
When to Create a New Project with MPPA
You should Create a New Project with MPPA when:
- The project requires input or approvals from multiple departments or external groups.
- Assignments should be driven by values selected in a previous form.
- You are using a template that includes a configured MPPA stage.
To Create a New Project with MPPA
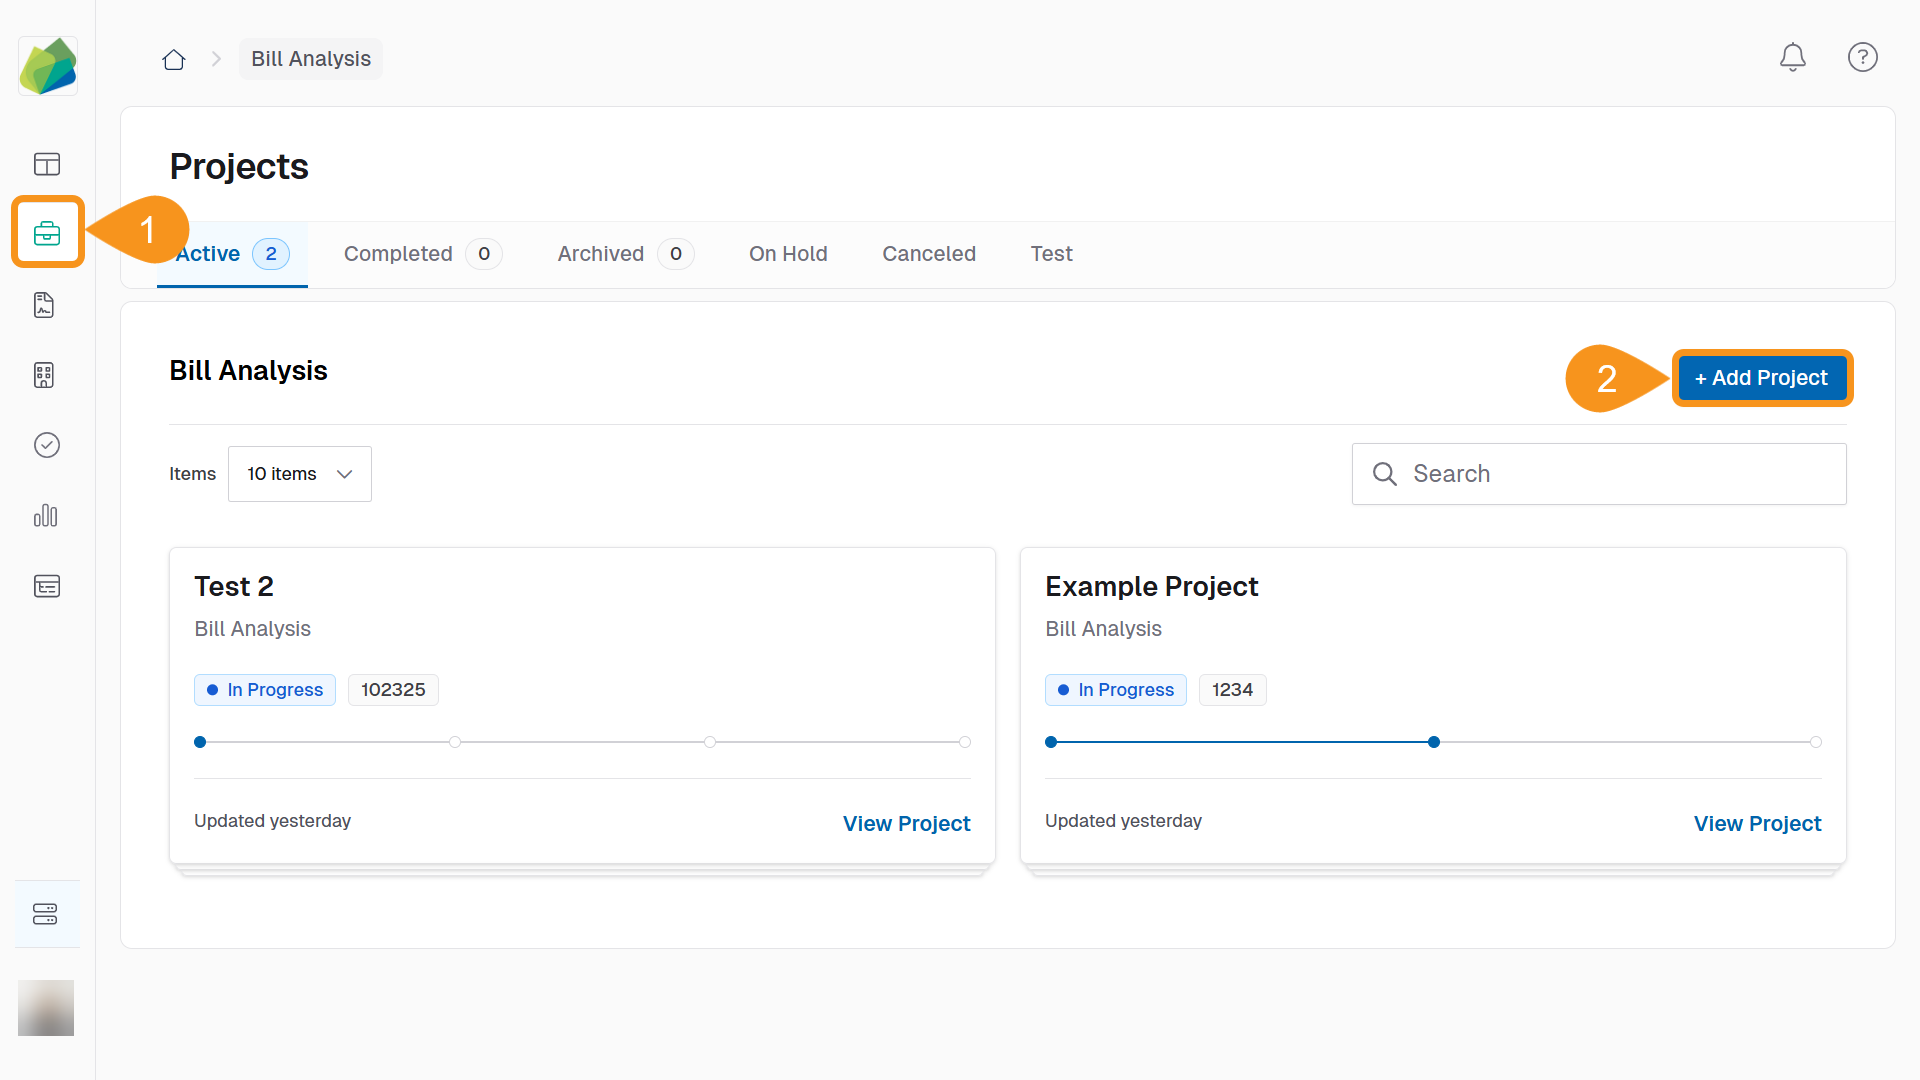
- Go to the Projects tab from the sidebar.
- Click the + Add Project button in the top-right corner.
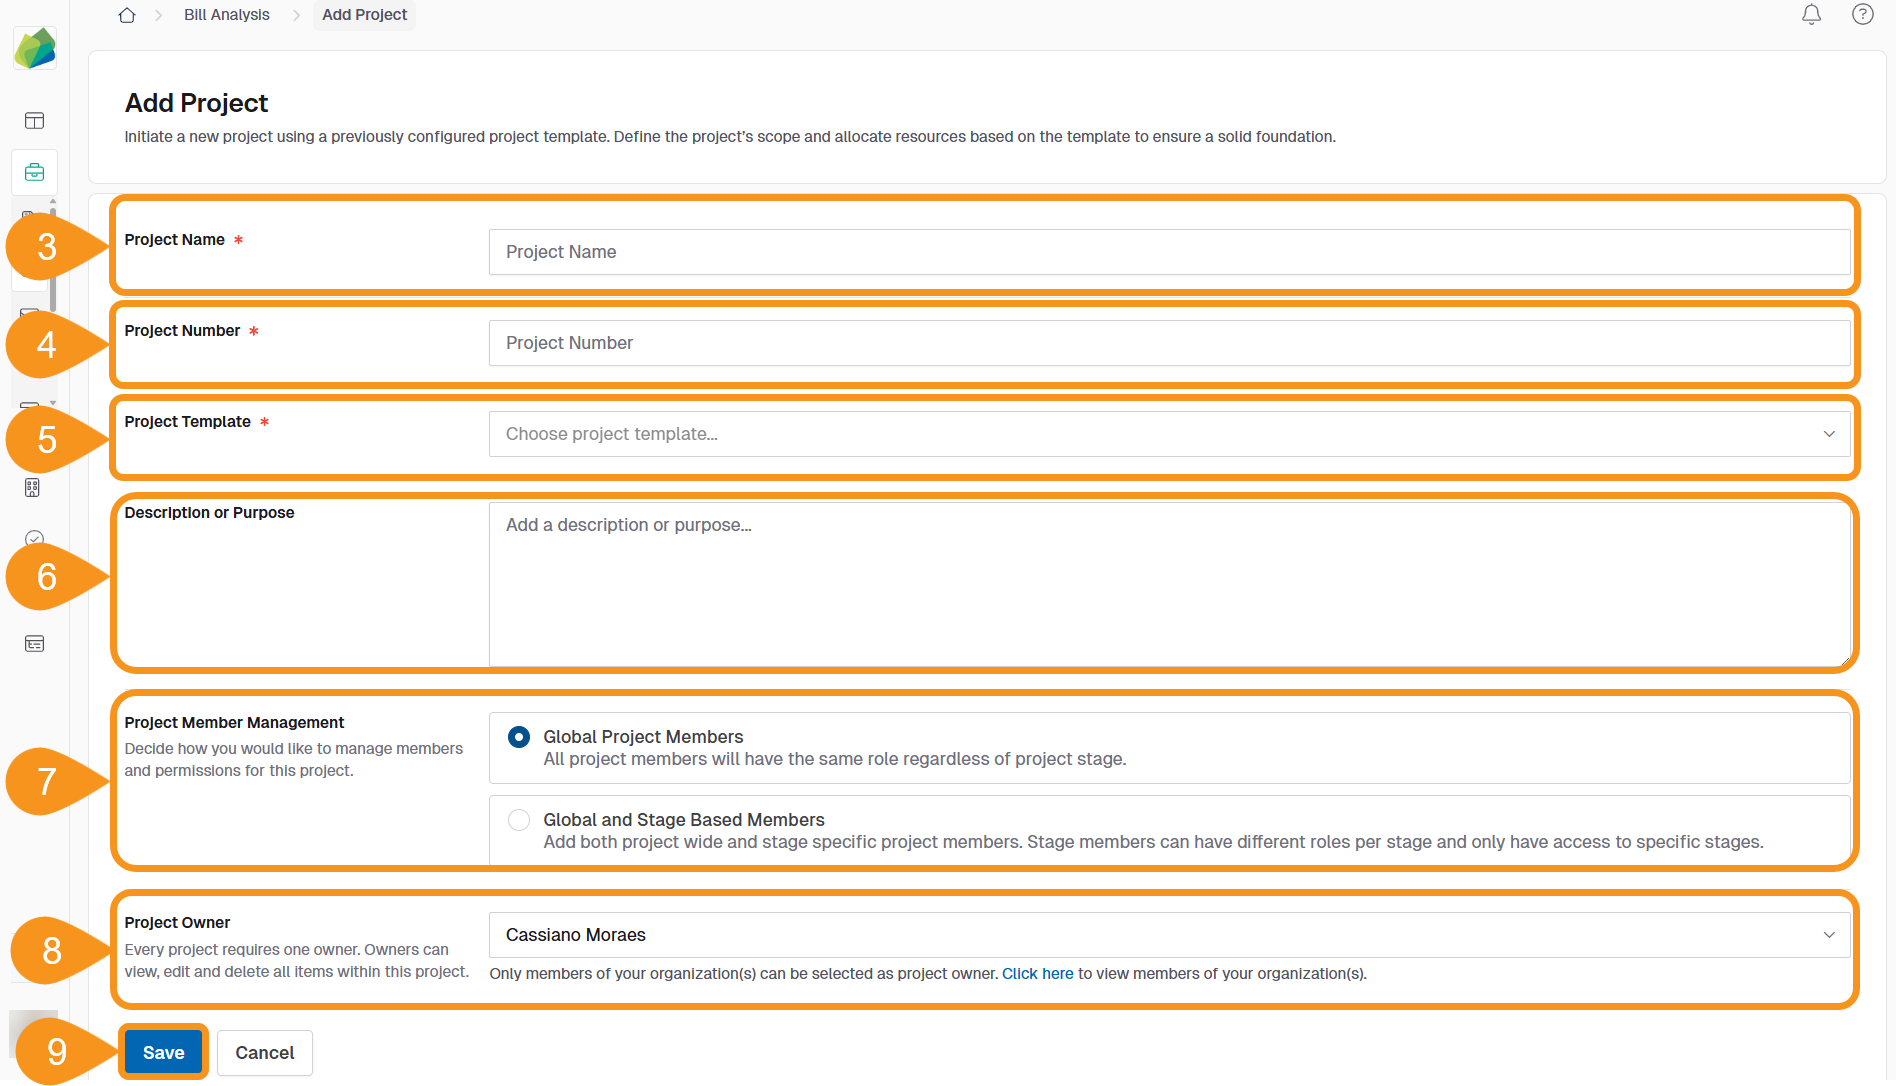
- Enter the Project Name.
NoteGive your project the specific name using the nomenclature determined by your organization. For example, Non-IT RFO CMAS: Training Materials
- Assign a Project Number according to your internal numbering system.
- Select a Project Template that includes the MPPA stage.
- (Optional): Add a Description or Purpose to help collaborators understand the project scope.
- Choose Project Member Management:
- Global Project Members: This management allows you to assign collaborators across all stages of the project to their roles at once.
- Global and Stage‑Based Members: This management allows collaborators to be assigned to stages individually with a variation in roles in each stage (If applicable).
- Select a project owner.
NoteBy default, the project creator is assigned as the owner. You can change this if needed.
- Click Save to create the project.
Reminder
Ensure the selected template includes the MPPA stage and that it has been configured correctly.
See Also
To complement your knowledge of this process, check the following pages: