Add Members to a Project and Assign Project Roles
This guide explains how to add members to a project in Authorium and assign them appropriate project roles. Properly assigning roles ensures team members have the correct permissions and access to project content and workflow stages.
When to Add Members and Assign Roles
You should add members or assign roles when you need to:
- Include new team members in a project.
- Assign roles that control access to documents, forms, or workflow stages.
- Restrict certain members to specific stages using stage-based permissions.
To Add Members to a Project
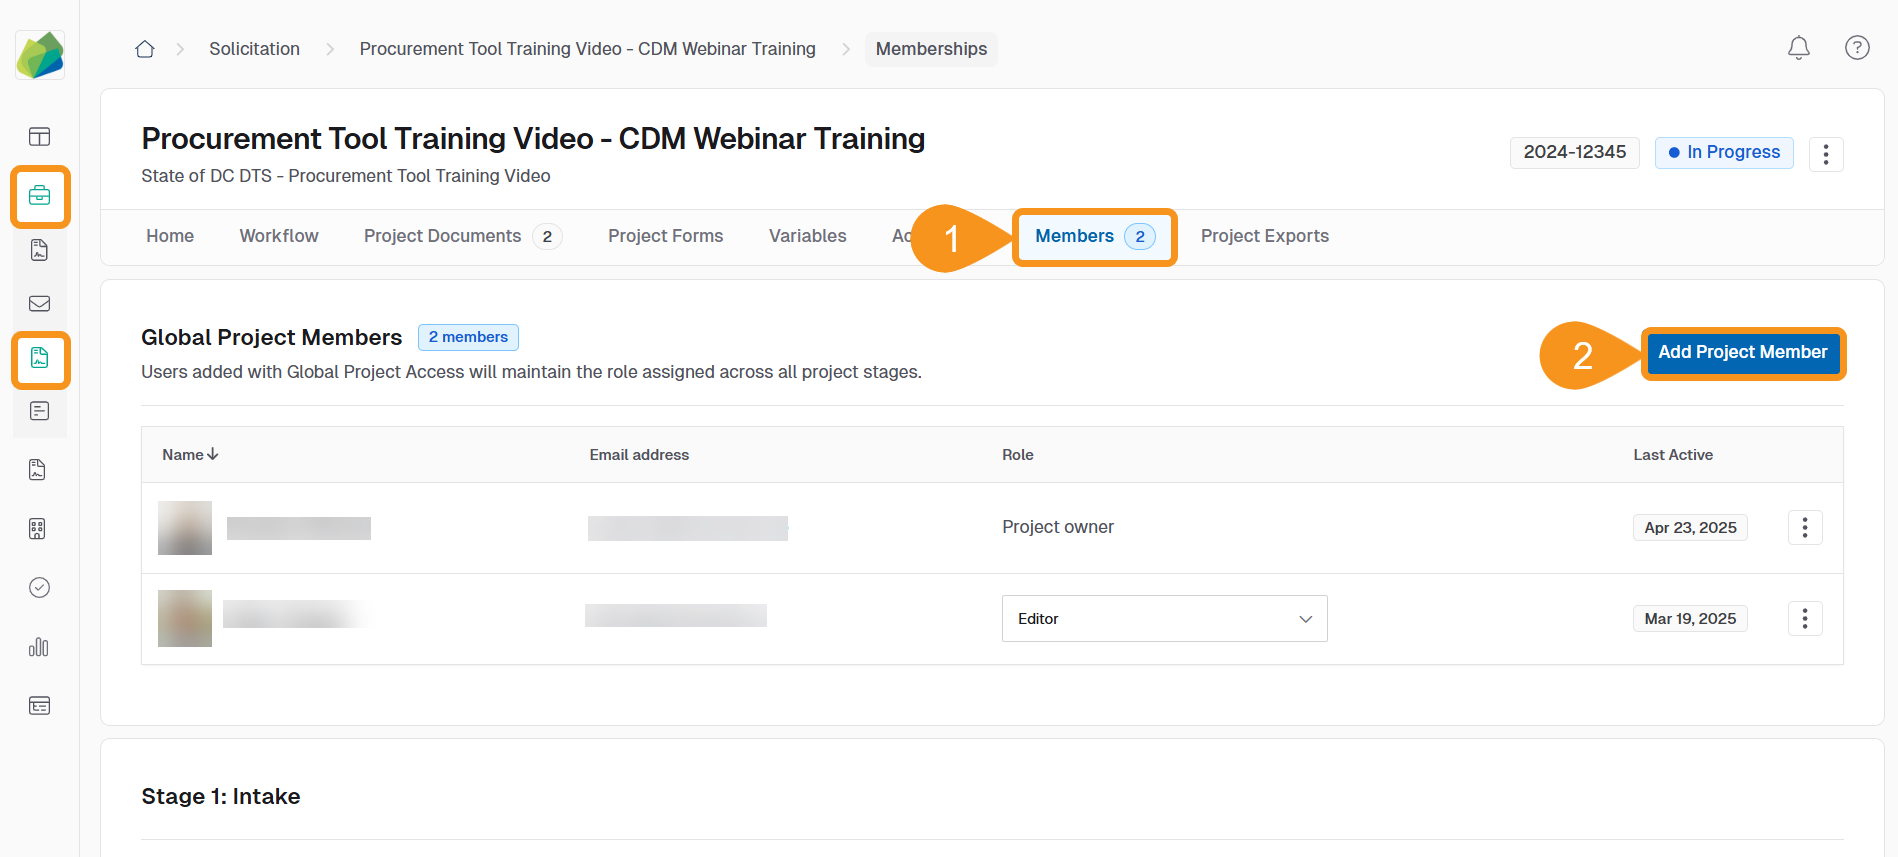
- From the project page, go to the Members tab.
- Click Add Project Member.
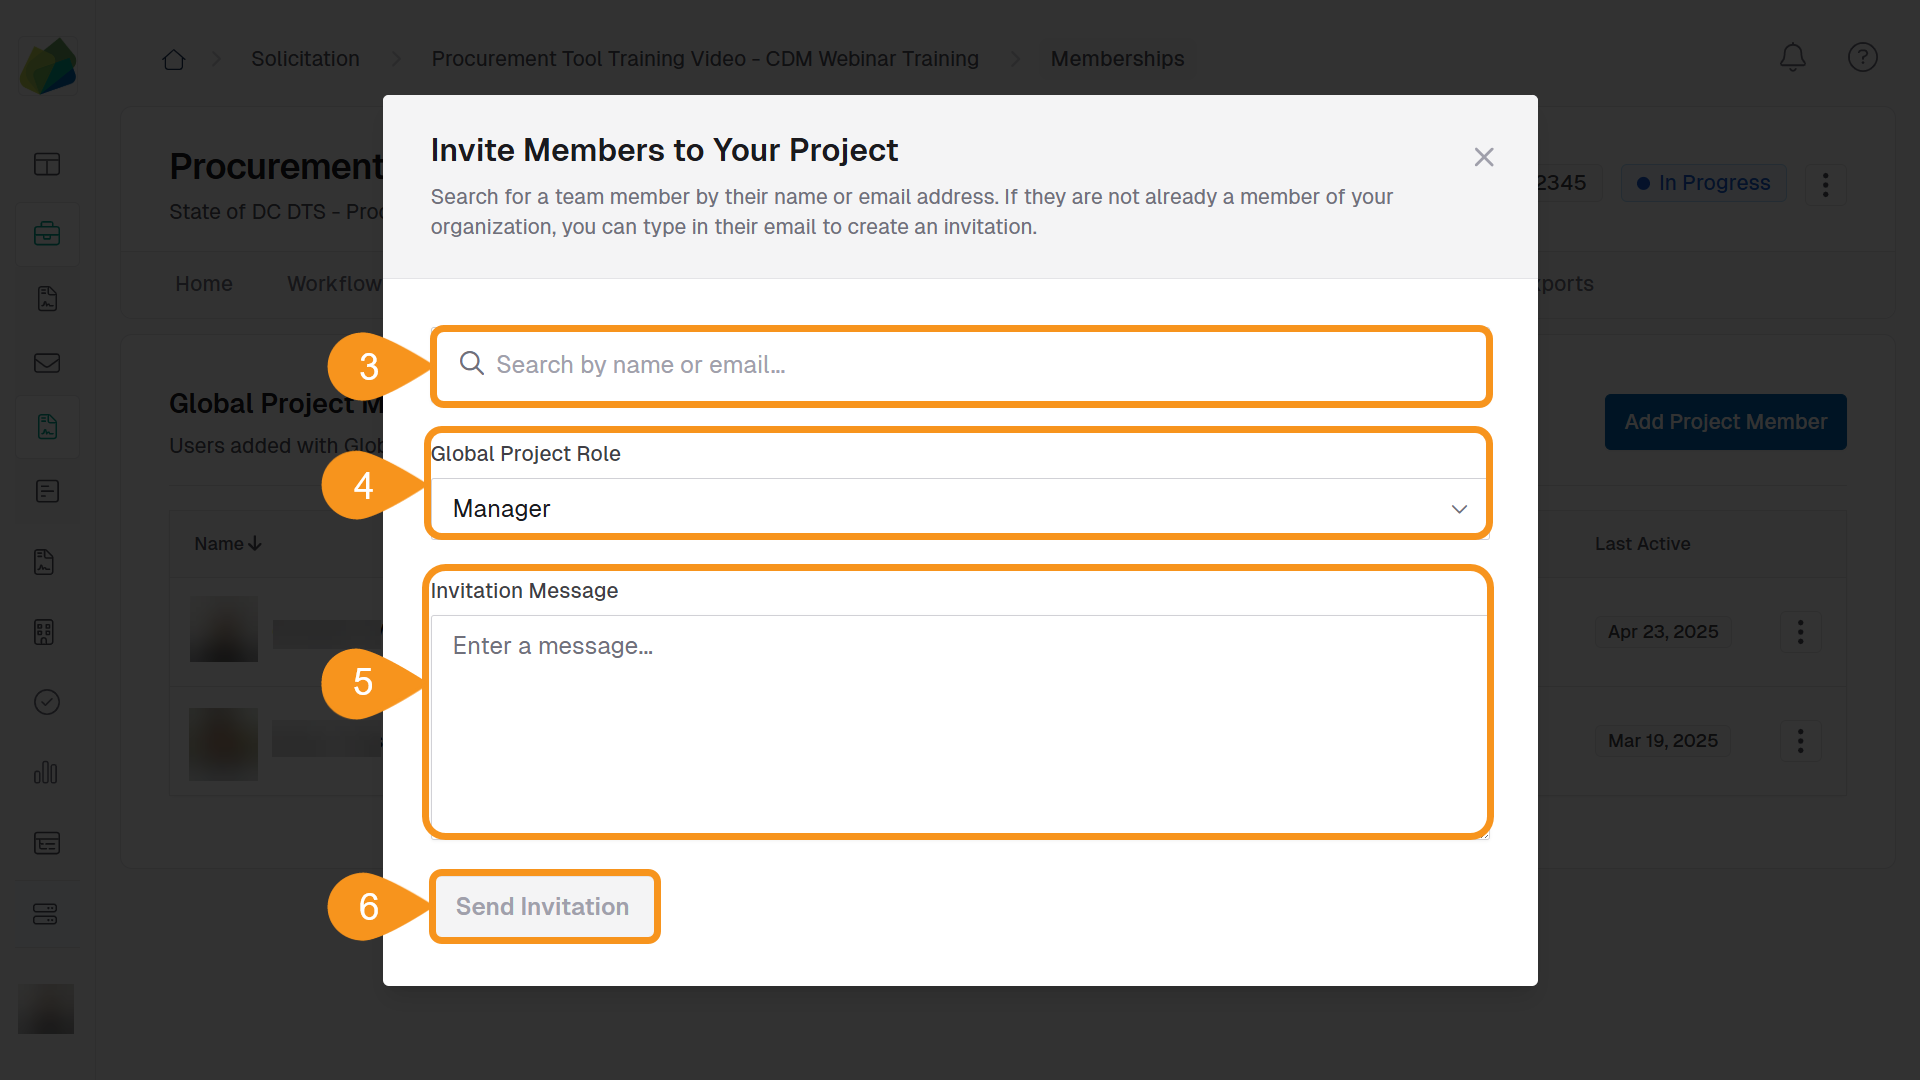
- Search for and select the user(s) you want to add.
- If the user is not part of your organization, enter their email to send an invitation.
- Assign the user to the appropriate Project Role.
- If stage-based permissions are enabled, also assign the role to the specific workflow stage.
- (Optional): Enter an Invitation Message to provide context.
- Click Save to confirm and apply the changes.
To Edit Project Members
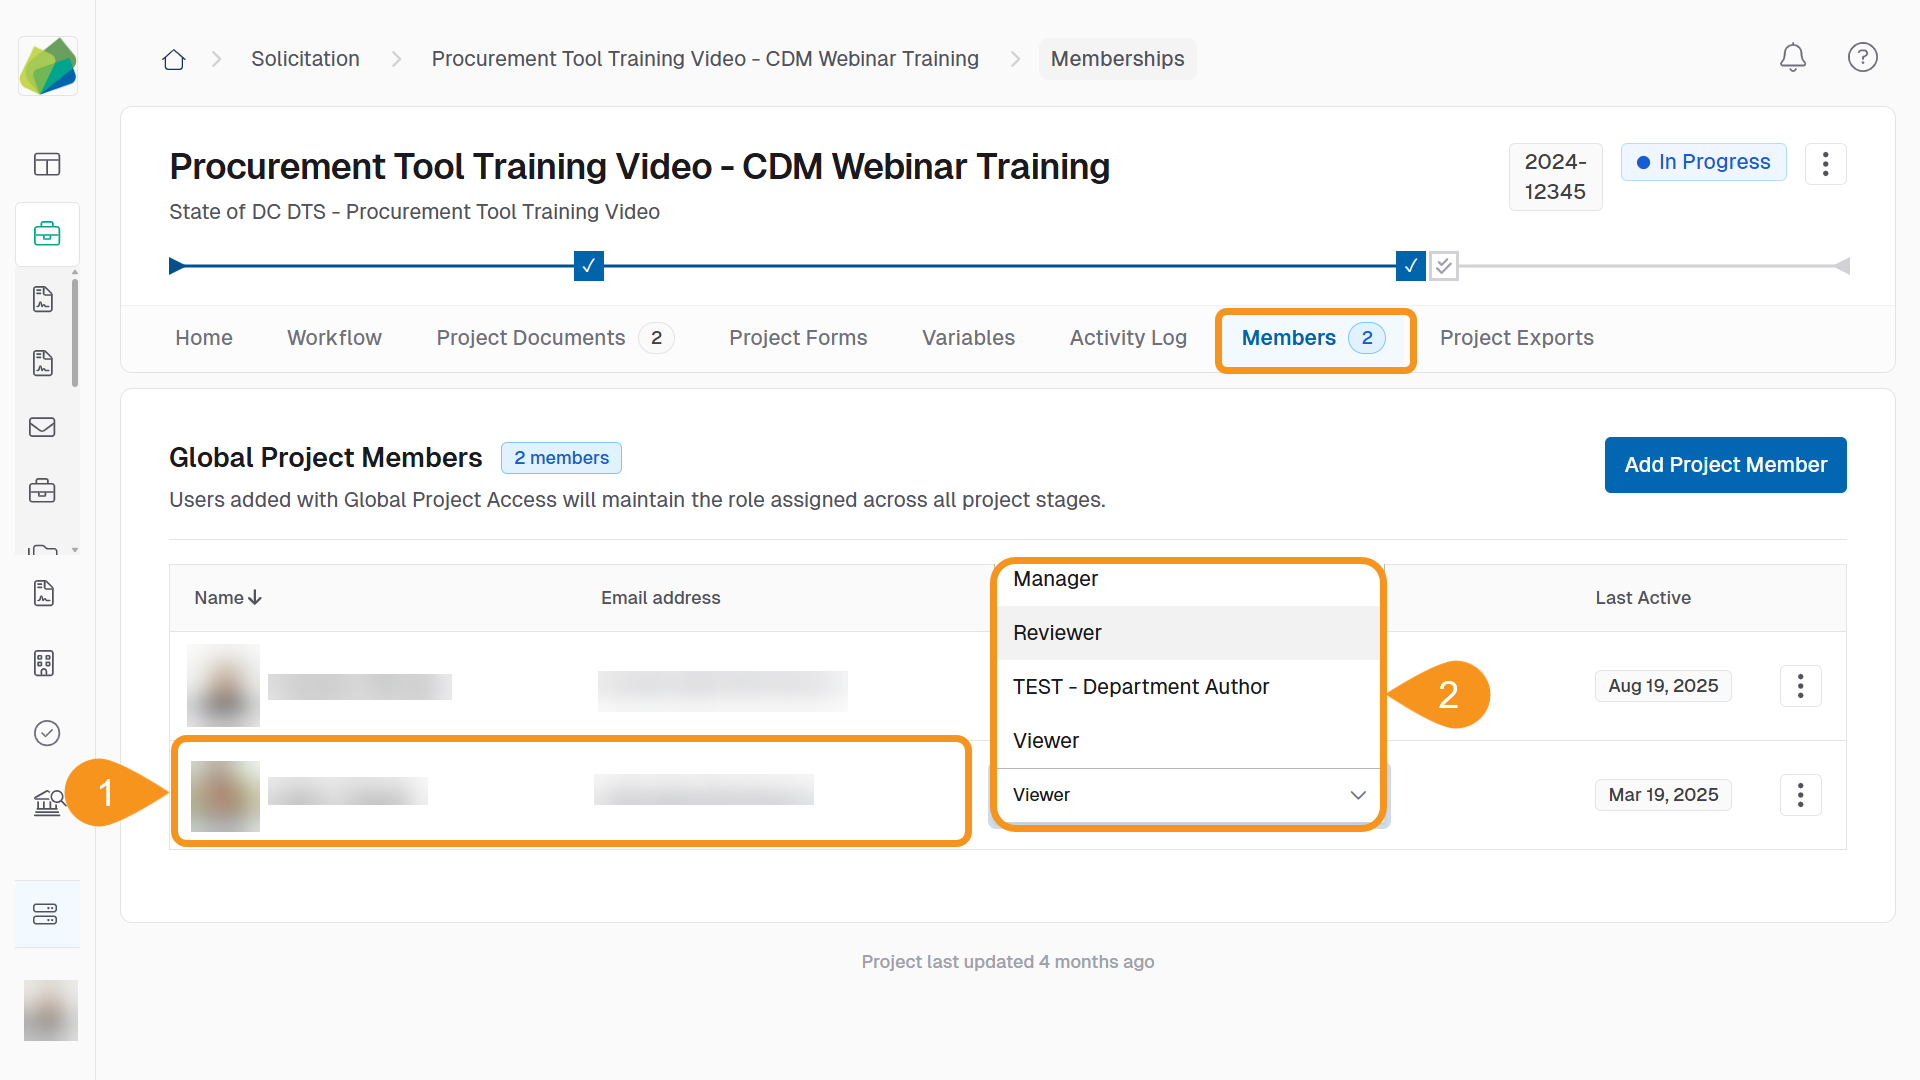
- From the Members tab, locate the member you want to update.
- Use the role dropdown menu next to their name and select the new role (e.g., Manager, Reviewer, Viewer).
To Remove Project Members
- From the Members tab, locate the member you want to remove.
- Click the three-dot menu next to their name.
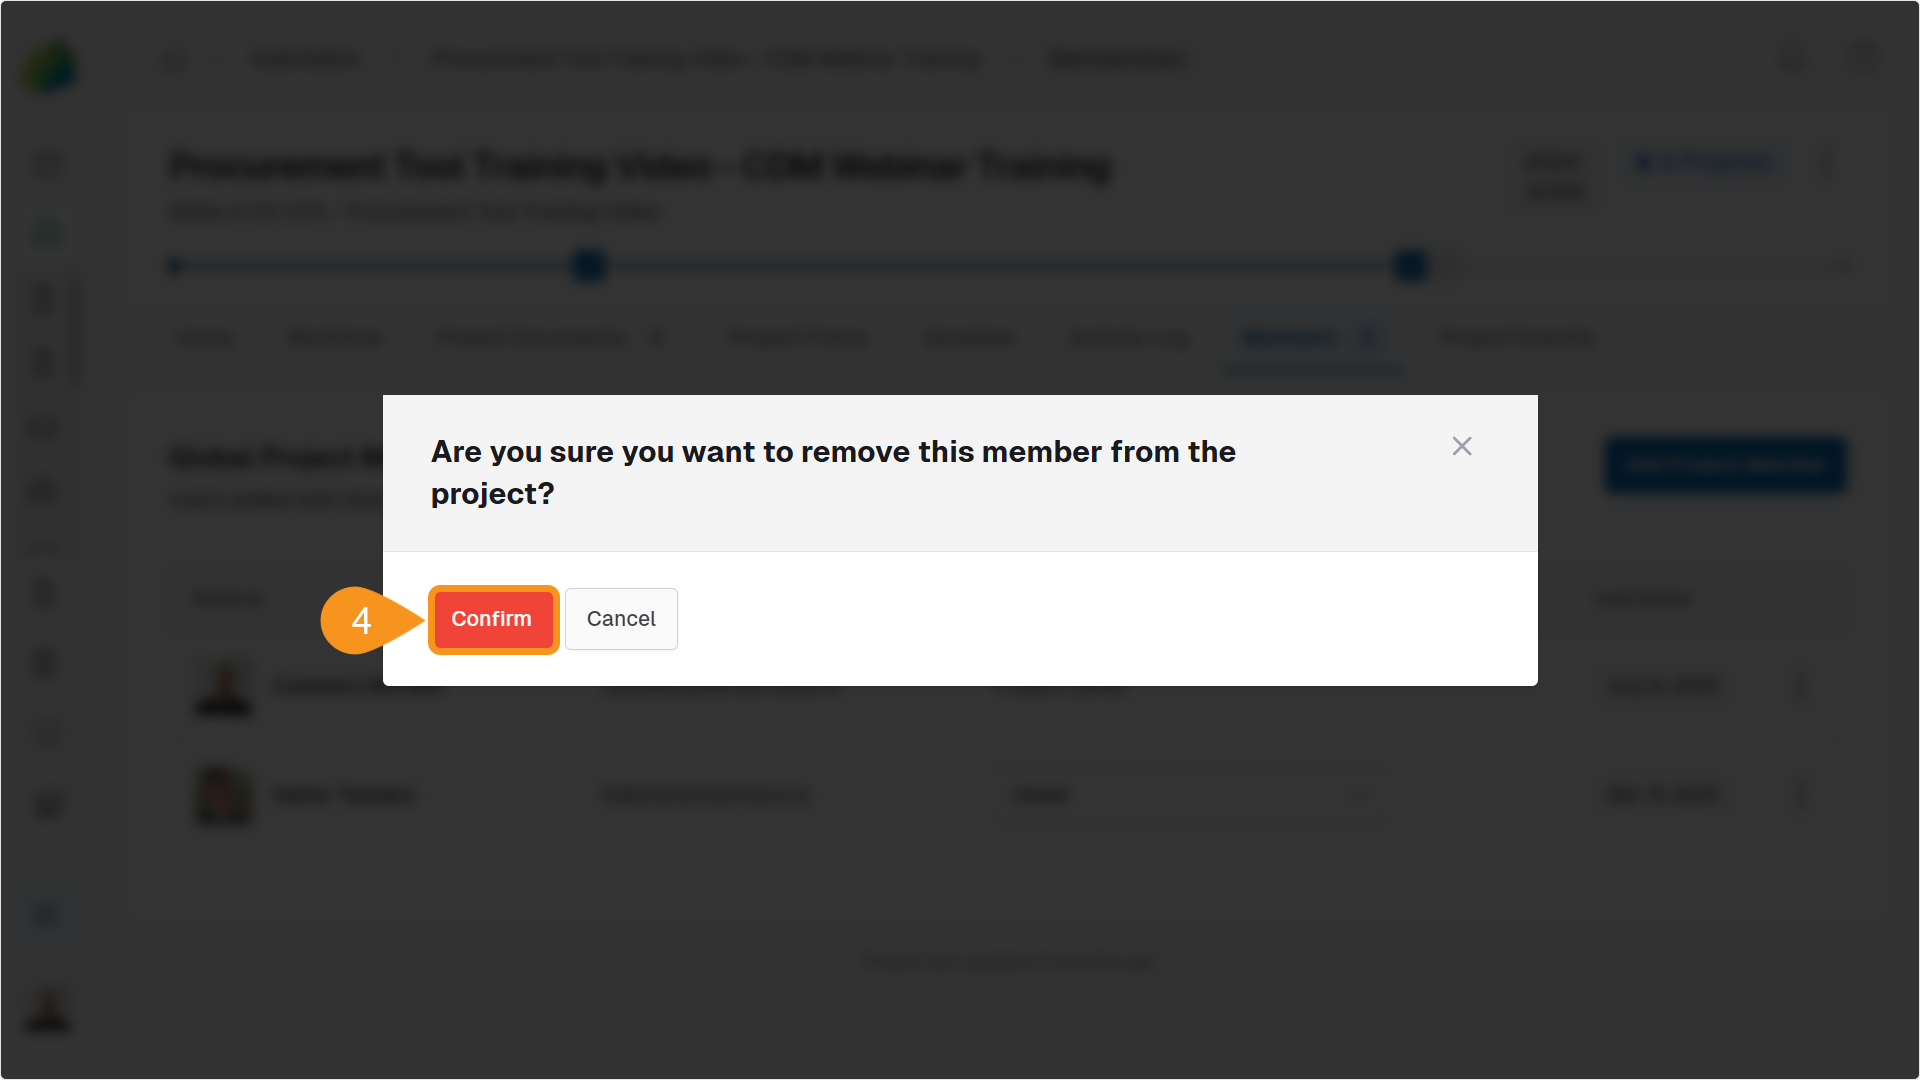
- Select Remove.
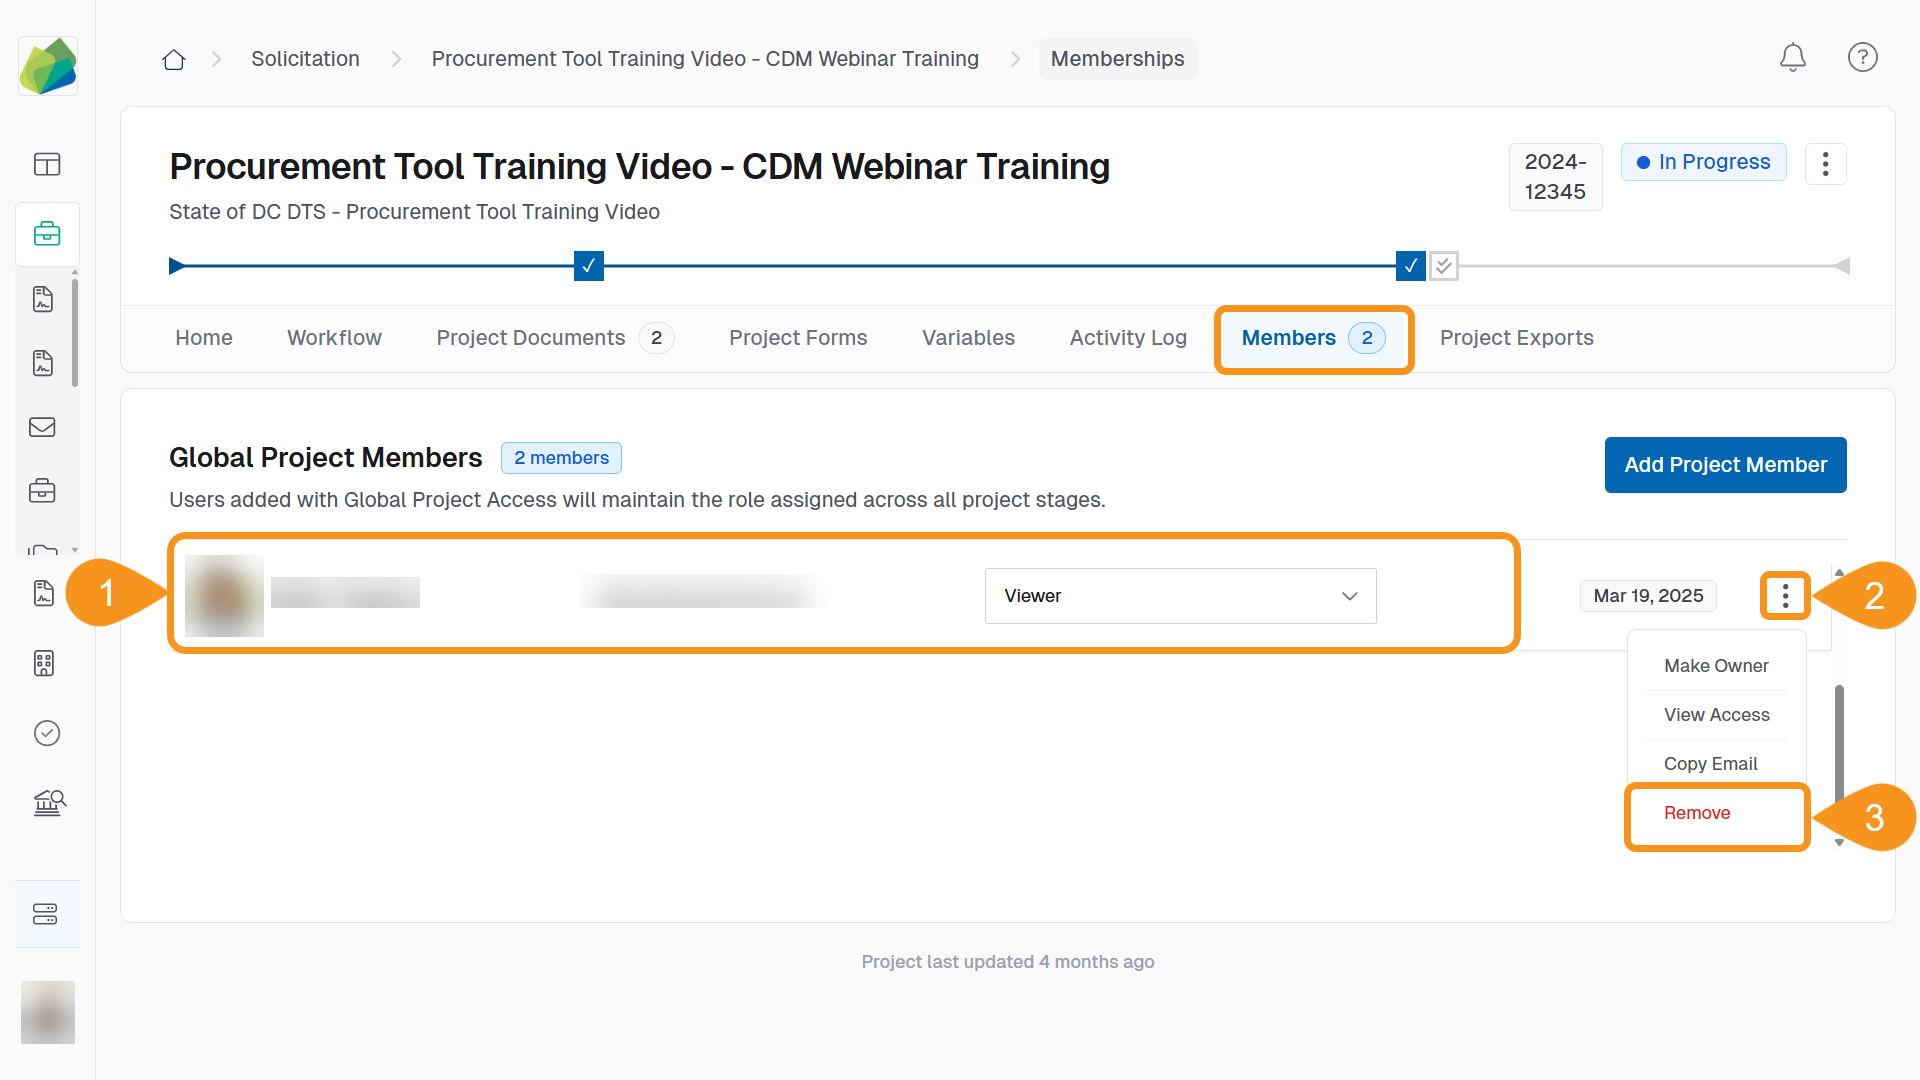
- Click Confirm to complete the action.
Notes
- Project Members inherit the permissions associated with their assigned role.
- Stage-based roles restrict access to specific workflow stages, while Global roles apply across the entire project.
See Also
To complement your knowledge of this process, check the following pages: